Installation
Introduction
The Horizon Integrator software is supplied as an Internet download. It is a self-contained installer that contains the files needed to install a copy of Horizon Integrator.
Before you start
Before you start, please check you have the following:
- A suitable computer to install the client
- Valid user credentials
First Login
After installation, the Telephony Settings page will be presented to enter your Horizon user credentials.
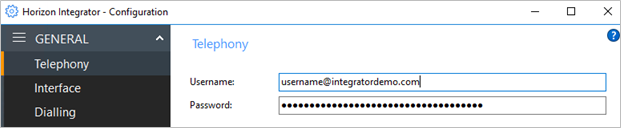
Click “Save” to store the user credentials and restart Horizon Integrator to login.
 Report this page